Doorbells are small yet essential components of any home. A functioning doorbell not only alerts you when visitors arrive but also adds convenience and security. Over time, doorbells can fail due to worn-out wiring, broken buttons, or a faulty chime. Fortunately, replacing a doorbell is a manageable DIY task that can save both time and money. This guide explains how to replace a doorbell step by step, with safety precautions and expert tips to ensure success.
Understanding Your Doorbell System

Before replacing your doorbell, it’s important to understand its components. Most traditional wired doorbells consist of the following parts:
- Doorbell Button: Installed near the front door, this button triggers the chime.
- Chime Box: Located inside your home, it produces the sound.
- Transformer: Converts standard household voltage (120V) to a lower voltage (usually 16–24V) for the doorbell.
- Wiring: Connects the button, chime, and transformer.
Modern homes may also have wireless doorbells, which include a battery-operated button and a plug-in or battery-powered chime. The replacement process for wireless doorbells is usually simpler since no wiring is involved.
Tools and Materials Needed
Having the right tools ensures a smooth replacement process. You will typically need:
- Screwdrivers (Phillips and flathead)
- Voltage tester or multimeter
- Wire strippers
- Drill (if new holes are required)
- New doorbell (button, chime, or complete kit)
- Screws and anchors (often included with a new doorbell)
- Safety gloves and glasses
Step-by-Step Guide to Replacing a Doorbell
Step 1: Turn Off Power
Safety is the top priority.
- Locate your home’s circuit breaker and turn off the power to the doorbell system.
- Use a voltage tester to confirm that no electricity is flowing to the doorbell or transformer.
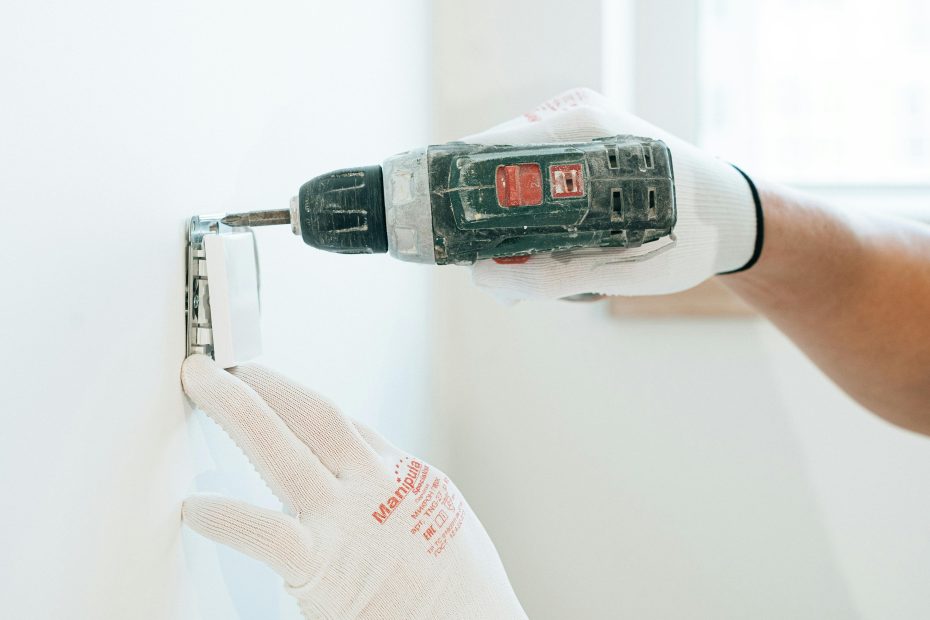
Step 2: Remove the Old Doorbell Button
- Unscrew the existing doorbell button from the wall.
- Carefully pull it away to expose the wires.
- Note how the wires are connected—taking a photo can be helpful.
- Disconnect the wires by loosening the terminal screws.
Step 3: Install the New Doorbell Button
- If necessary, drill new holes or use the old screw holes.
- Connect the wires to the terminals of the new doorbell button.
- Typically, it does not matter which wire connects to which terminal unless specified by the manufacturer.
- Typically, it does not matter which wire connects to which terminal unless specified by the manufacturer.
- Screw the button securely to the wall or door frame.
Step 4: Check or Replace the Chime
- Open the chime box inside your home.
- Inspect the wiring for frayed or loose connections.
- If you are replacing the chime entirely:
- Disconnect the old chime wires.
- Mount the new chime on the wall, following manufacturer instructions.
- Connect the wires and ensure terminals are secure.
- Disconnect the old chime wires.
Step 5: Inspect or Replace the Transformer
- Doorbell transformers are usually located near the electrical panel, in a basement, or near the chime.
- Ensure the transformer is rated correctly for your new doorbell’s voltage.
- If the transformer is faulty:
- Turn off the main power.
- Disconnect the old transformer.
- Mount and wire the new transformer according to the installation guide.
- Turn off the main power.
Step 6: Test the Doorbell
- Turn the power back on at the circuit breaker.
- Press the doorbell button and ensure the chime works.
- If the doorbell does not ring, check connections at the button, chime, and transformer.
- Consult troubleshooting tips below if needed.
Troubleshooting Common Issues
Even after replacing a doorbell, minor issues may occur. Here’s how to address them:
Doorbell Doesn’t Ring:
- Confirm that power is turned on.
- Test each connection with a multimeter.
- Ensure the button isn’t stuck or defective.
Weak or Faint Chime:
- Verify the transformer is providing the correct voltage.
- Check for loose wiring connections.
Chime Sounds Continuously:
- Ensure wires aren’t touching each other.
- Make sure the button isn’t jammed or stuck.
If problems persist, review the manufacturer’s instructions or contact an electrician. For more detailed troubleshooting, you can follow proven methods on how to fix a doorbell, which covers advanced steps for persistent electrical or wiring issues.
Maintenance Tips for Doorbells
Even the best doorbell can lose performance over time if it isn’t maintained properly. Regular care keeps it working reliably and extends its lifespan.
Clean Regularly:
- Wipe buttons, chimes, and housings with a soft, damp cloth to remove dust, dirt, and debris.
- Avoid harsh chemicals that can damage finishes or sensitive electronics.
- For outdoor buttons, check for cobwebs, leaves, or insect nests that might interfere with operation.
Check Batteries (for Wireless Models):
- Replace batteries at least once a year or when the sound becomes weak.
- Keep spare batteries on hand to avoid downtime.
- Rechargeable battery models should be monitored for performance and replaced when capacity decreases.
Inspect Wiring (for Wired Models):
- Examine wires and connections for signs of corrosion, fraying, or loosened terminals.
- Ensure connections at the transformer and chime unit are secure.
- If you notice flickering, buzzing, or intermittent operation, inspect wiring immediately to prevent damage.
Lubricate Moving Parts:
- If the button feels stiff or sticky, apply a small drop of petroleum jelly or a silicone-based lubricant.
- Avoid excess lubricant, which can attract dust and cause build-up over time.
- Regular lubrication ensures smooth pressing and consistent operation.
Test Functionality Periodically:
- Press the button to confirm the chime sounds correctly.
- For smart or video doorbells, test notifications and Wi-Fi connections monthly.
- Identify issues early to prevent complete failure or costly repairs.
Protect Against Weather:
- For outdoor doorbells, ensure the housing is weatherproof.
- Install a small overhang or cover if your doorbell is exposed to heavy rain or snow.
- Proper weather protection prevents water damage and corrosion.
Professional Inspection (Optional):
- For older wired systems, consider an electrician inspection every few years.
- A professional can check transformer voltage, wiring integrity, and chime functionality.
By following these maintenance tips, your doorbell will stay functional, reliable, and safe for years, reducing the need for frequent replacements or repairs. Regular upkeep ensures you never miss a visitor at your door.
Advantages of Replacing Your Doorbell
Replacing an outdated doorbell comes with several benefits:
- Improved Reliability: Old wiring or buttons can fail unpredictably.
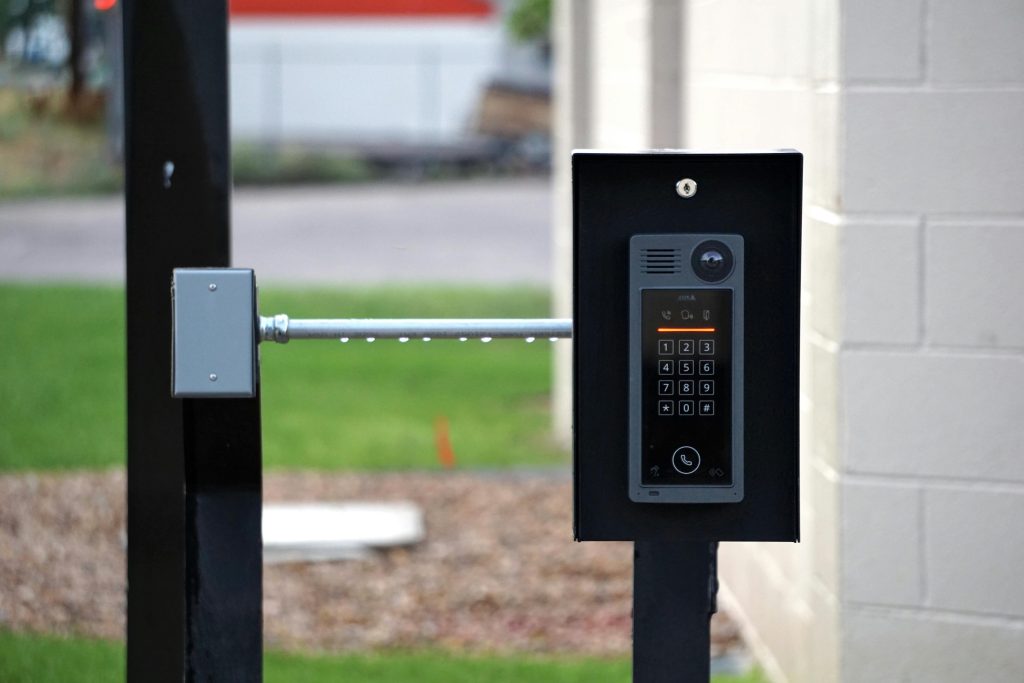
- Modern Features: Many new doorbells include intercoms, video cameras, or smart connectivity.
- Enhanced Security: Video doorbells allow monitoring of your front entry.
- Better Aesthetics: A fresh doorbell complements your home’s exterior design.
Tips for Choosing a New Doorbell
Selecting the right doorbell ensures reliable performance and enhances your home’s convenience and security. Consider the following factors when choosing a replacement:
Wired vs. Wireless:
- Wired Models: Typically more reliable and consistent since they are connected directly to your home’s electrical system. Ideal for larger homes where signal range could be an issue.
- Wireless Models: Easier to install and move if needed. They often operate on batteries or plug-in receivers. Best for renters or for quick DIY installations.
Voltage Compatibility:
- Check your existing transformer’s voltage to match the doorbell requirements (commonly 16–24 volts).
- Using a doorbell with incompatible voltage may cause it to malfunction or damage electrical components.
Sound Options:
- Choose a chime sound that is loud enough to be heard throughout your home.
- Some doorbells allow multiple tones, so you can select one that suits your home’s size and personal preference.
- Consider adjustable volume settings to avoid disturbing neighbors or guests.
Weather Resistance:
- Outdoor doorbell buttons should be durable and waterproof.
- Materials like stainless steel, plastic with UV protection, or rubber seals help prevent damage from rain, snow, or extreme temperatures.
- A weather-resistant doorbell ensures longevity and reduces maintenance needs.
Smart Features:
- Modern doorbells may offer remote notifications, video streaming, or integration with smart home systems.
- Features like motion detection, two-way communication, and smartphone alerts can enhance security.
- Consider whether you want a basic chime or a smart model that connects to your Wi-Fi and home automation system.
Additional Considerations:
- Aesthetic Match: Ensure the doorbell complements your home’s exterior.
- Ease of Installation: Some models come with mounting kits and instructions, making DIY installation straightforward.
- Battery Life: For wireless models, check how often batteries need to be replaced.
By weighing these factors, you can choose a doorbell that fits your home’s needs, improves security, and offers reliable performance for years to come.
Step-by-Step Safety Checklist
For a smooth, safe installation, follow these safety practices:
- Turn off power before touching any wires.
- Use insulated tools when handling wiring.
- Wear gloves and eye protection.
- Keep children and pets away from the work area.
- Use a stable ladder when accessing high-mounted chimes or doorbells.
By following these precautions, you minimize the risk of electric shock or injury during installation.
Conclusion
Replacing a doorbell is a practical DIY project that enhances home functionality, security, and curb appeal. By understanding your doorbell system, gathering the right tools, following step-by-step installation instructions, and prioritizing safety, you can complete the replacement successfully.
Remember to conduct regular maintenance and inspections to extend the life of your doorbell. Whether you choose a traditional wired system or a modern wireless model, a properly functioning doorbell ensures you never miss a visitor again.