A working doorbell is something most homeowners rarely think about—until it stops working. Whether it’s a simple button issue or a deeper wiring problem, knowing how to fix a doorbell can save time, money, and frustration. Doorbells may look simple, but they involve multiple components working together: the button, the wiring, the chime unit, and sometimes a transformer. When any of these parts fail, the doorbell stops functioning.
This complete guide will walk you through the entire process of diagnosing the problem, identifying the root cause, and fixing your doorbell safely. It is written for beginners and uses easy-to-follow steps, helpful troubleshooting tips, and simple tools you likely already have at home.
How a Doorbell Works
Before fixing anything, it helps to understand the basics of how a standard wired doorbell system works:
- Doorbell Button: When someone presses it, it completes the electrical circuit.
- Wiring: Carries low-voltage electricity from the transformer to the chime and the button.
- Chime Unit: Produces the ringing sound when the circuit is complete.
- Transformer: Reduces household voltage (120 volts) to a safe 12–24 volts for the doorbell.
If you’re dealing with a wireless doorbell, the system is a bit different:
- Button: Sends a radio signal to the chime unit.
- Chime Receiver: Plays a sound when it receives the signal.
- Batteries: Power both components.
Knowing these basics will help you troubleshoot the issue.
Common Reasons a Doorbell Stops Working
Doorbells fail for several predictable reasons. Identifying the exact cause is the key to making a quick and effective repair.
1. Dead Batteries (Wireless Doorbells)
In many cases, the fix is as simple as replacing the batteries in the button or receiver.
2. Faulty Doorbell Button
Buttons wear out over time because they are frequently exposed to weather, dirt, and pressure.
3. Damaged Wiring
Loose, corroded, or broken wires can interrupt the flow of electricity.
4. Broken Chime Unit
The internal mechanism of the chime may fail, especially older mechanical models.
5. Bad Transformer
If the transformer fails, the doorbell won’t get the low-voltage power it needs.
Each of these issues requires a different fix, which we cover in detail below.
Tools You’ll Need
You don’t need advanced tools to repair most doorbell issues. A simple set of household tools will typically be enough.
Basic Tools
- Screwdrivers (flathead and Phillips)
- Multimeter (for testing voltage)
- Electrical tape
- Wire stripper
- Ladder
- Replacement batteries (if wireless)
Optional Tools
- Voltage tester
- Needle-nose pliers
- Replacement doorbell button or chime
Once you have these tools ready, you can begin the diagnostic process.
Step-by-Step Guide: How to Fix a Doorbell
Below is a full troubleshooting guide that walks you through fixing a doorbell from the simplest issues to the more complex ones.
Step 1: Identify Your Doorbell Type (Wired or Wireless)
Your first step is to determine whether your doorbell is wired or wireless.
How to tell:
- Wired doorbell: There will be a visible wiring system connecting the button to the chime.
- Wireless doorbell: The button and chime operate using batteries and radio signals.
This article provides instructions for both types.
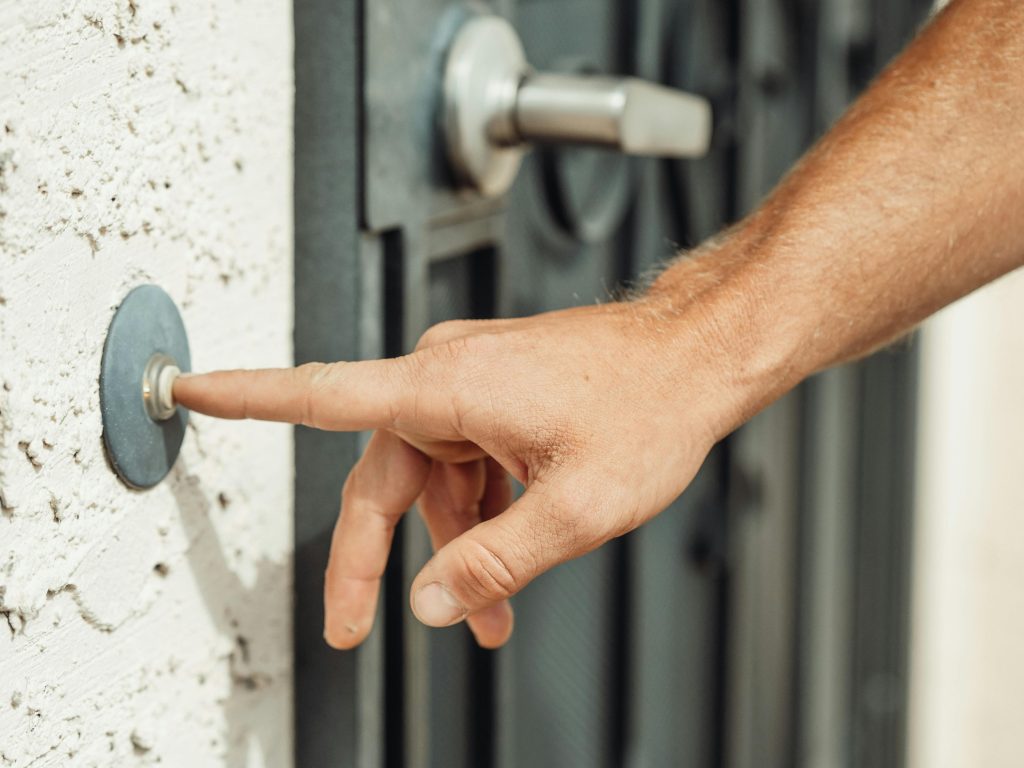
Step 2: Check the Doorbell Button
The button is the most common failure point in wired systems.
How to Inspect the Button
- Remove the button from the wall using a screwdriver.
- Inspect the wires behind it.
- Touch the two wires together (carefully).
- If the chime rings, the button is the problem.
Fix
- Replace the doorbell button.
- Reattach the two wires to the new button.
- Screw it back into place.
Buttons are inexpensive and easy to replace, making this a fast repair.
Step 3: Check the Batteries (Wireless Doorbells)
Wireless doorbells rely on batteries in both the button and the chime receiver.
What to Do
- Remove the button cover and replace its battery.
- Replace the chime unit’s batteries.
- Press the button again to test.
If it still doesn’t work, try re-syncing the button and receiver using the manufacturer’s instructions.
Step 4: Inspect the Chime Unit
If the button is not the problem, the chime unit may be faulty.
Wired Chime Troubleshooting
- Remove the chime cover.
- Look for loose or disconnected wires.
- Use a multimeter to check for 16–24 volts on the terminals.
Common Fixes
- Tighten loose wires.
- Remove dirt or dust from mechanical chime plungers.
- Replace the chime unit if it makes no sound even with power.
Wireless Chime Troubleshooting
- Check that the chime is plugged in (if electrical).
- Move it closer to the button to improve signal strength.
- Re-sync if necessary.
Step 5: Test the Transformer
If your wired system still doesn’t work, the transformer might be the issue.
How to Find the Transformer
It is usually installed near:
- The electrical panel
- The furnace
- The garage
- A closet or utility area
How to Test It
- Set your multimeter to AC voltage.
- Touch the probes to the transformer terminals.
- A reading of 16–24 volts means it is working.
Fix
If the transformer is dead:
- Turn off power at the breaker.
- Remove the old transformer.
- Install a new one with matching voltage.
This is slightly advanced work. If you’re not comfortable with electrical systems, call a professional.
Step 6: Check the Wiring System
If all components seem fine individually, the wiring itself may be damaged.
Signs of Wiring Issues
- Corrosion or rust inside the button housing
- Loose wires in the chime unit
- Frayed or broken wires leading from the button to the transformer
Fix
- Re-strip damaged wire ends.
- Tighten loose connections.
- Replace broken wires if necessary.
- Use electrical tape for insulation.
Older homes are more likely to develop wiring issues due to age and exposure.
Step 7: Fixing Mechanical Doorbell Issues
Some older homes use mechanical systems rather than electronic chimes.
How to Fix Mechanical Issues
- Clean dirt from the plunger mechanism.
- Lubricate moving parts lightly (avoid silicone sprays).
- Verify wiring is tight and non-corroded.
If the plunger is stuck or broken, it may need replacing.
When to Call a Professional

While most doorbell repairs can be done without special training, certain situations require expert help:
- You smell burning or see scorch marks near the doorbell wiring.
- The transformer is integrated with your home’s electrical system in a complicated way.
- You’re uncomfortable working with electrical components.
- You suspect a short circuit.
Hiring a pro ensures safety and prevents more expensive damage later.
How to Fix a Smart Doorbell
Smart doorbells like Ring or Nest involve more advanced technology.
Common Fixes
- Connect to a stronger Wi-Fi network.
- Restart the device using app settings.
- Check transformer voltage (most require 16–24 volts).
- Clean the camera and button area.
- Reset the device to factory settings if unresponsive.
Smart doorbell issues are often caused by Wi-Fi disconnection rather than hardware failure.
Doorbell Maintenance Tips
Prevent future problems by maintaining your system.
Simple Maintenance Habits
- Clean the button area regularly.
- Replace batteries once per year.
- Inspect wiring annually.
- Keep chime units dust-free.
- Test your doorbell monthly.
By doing these small tasks, you’ll extend the life of your doorbell system.
Safety Tips When Fixing a Doorbell
Working with a doorbell may seem simple, but many systems connect directly to your home’s electrical components. Taking proper safety precautions helps prevent shocks, falls, and accidental damage. Before you begin, slow down and prepare your workspace so you can troubleshoot confidently and safely.
Essential Safety Guidelines
- Turn Off Power Before Touching a Transformer
Doorbell transformers reduce voltage, but they are still connected to your home’s main electrical system. Always switch off the circuit breaker that controls the doorbell before inspecting or replacing wiring, the transformer, or the chime box. Double-check by testing the doorbell to ensure power is truly off.
- Use Insulated Tools When Possible
Insulated screwdrivers and pliers add an extra layer of protection if you accidentally contact a live wire. Even low-voltage systems can cause injury if handled improperly, so choose tools specifically designed for electrical work.
- Never Handle Wiring With Wet Hands
Moisture conducts electricity. Before touching any component—wires, screws, or connectors—make sure your hands are completely dry. If you’ve been cleaning or working outdoors, dry your hands thoroughly to reduce risk.
- Wear Gloves and Safety Glasse
Gloves help protect your hands from sharp metal edges, exposed wires, and accidental contact with terminals. Safety glasses shield your eyes from dust, debris, and small parts that may fall when opening fixtures or removing covers.
- Use a Stable Ladder for Hard-to-Reach Areas
Many doorbells and chime boxes are installed high on walls or near ceilings. Always place your ladder on a level surface and make sure it’s fully locked in place before climbing. Never lean too far to one side—climb down, reposition the ladder, and continue safely.
Why Safety Matters
Taking a few extra minutes to follow proper safety steps can prevent accidents and help you complete the repair smoothly. When you protect yourself first, you’re able to diagnose the issue more clearly, make accurate repairs, and avoid causing further damage to your doorbell system or electrical wiring.
If you want, I can also expand the troubleshooting or wiring-related sections to match this tone and depth.
Conclusion: Fixing Your Doorbell Is Easier Than You Think
Knowing how to fix a doorbell empowers homeowners to solve common problems without hiring a professional. Whether it’s a simple battery replacement or a more involved component repair, most doorbell issues can be solved with basic tools and patience. By following the steps in this guide—checking the button, testing the chime, inspecting wiring, and verifying the transformer function—you can restore your doorbell quickly and safely.
With regular maintenance and a little troubleshooting knowledge, your doorbell will continue working smoothly for years.