Cleaning shower grout can be a chore, but it’s essential to maintain a clean and hygienic bathroom. Grout, the porous material between your tiles, can accumulate dirt, soap scum, mold, and mildew over time, leading to discoloration and potential health concerns. With the right approach and tools, you can restore your shower grout to its original clean and fresh look.
If your tiles are already discolored or dark, check out our guide that tells you how to clean grout that has turned black. For information specifically about shower grout, read on!
Here’s a practical step-by-step guide to cleaning shower grout that homeowners can easily follow:
Materials You’ll Need
- Baking soda
- White vinegar
- Hydrogen peroxide
- Dish soap
- A small scrub brush or toothbrush
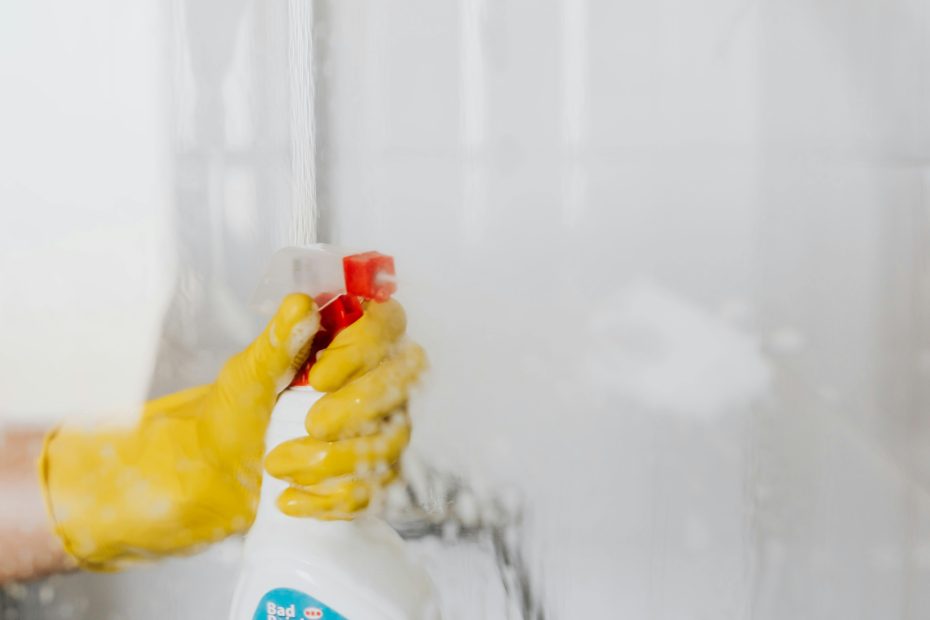
- A spray bottle
- Grout sealer (optional, for prevention)

Step-by-Step Guide to Clean Shower Grout
1. Start with a Basic Cleaning Solution
For light to moderate grime buildup, you can start with a simple and effective cleaning solution made from household ingredients:
- Mix baking soda and water into a thick paste (about 3:1 ratio).
- Apply the paste directly to the grout lines using a toothbrush or scrub brush.
- Let it sit for 10-15 minutes to allow the baking soda to break down the grime.
- Scrub in circular motions, focusing on stained areas.
- Rinse with warm water.
Tip: Always test a small area first to ensure the solution doesn’t damage the grout or tiles.
2. Use Vinegar for Tough Stains
If your grout is more heavily stained, vinegar can help break down mold, mildew, and soap scum:
- Fill a spray bottle with equal parts white vinegar and water.
- Spray the solution over the baking soda paste.
- You’ll notice some fizzing as the vinegar reacts with the baking soda, helping to loosen grime.
- Let the mixture sit for another 10-15 minutes.
- Scrub and rinse thoroughly with warm water.
Caution: Be careful when using vinegar on natural stone tiles, as it can damage the surface. Opt for a stone-safe cleaner if needed.
For natural stone, check the label: Most commercial cleaners will specify if they are safe for natural stone. Look for phrases like “stone-safe” or “safe for use on natural stone surfaces.”
Avoid acidic ingredients: Cleaners containing vinegar, lemon, or other acidic substances can erode and dull natural stone. Always opt for pH-neutral products that won’t react with the stone surface.
Use a mild, non-abrasive cleaner: Harsh abrasives can scratch stone, so choose gentle cleaners or those specifically formulated for stone surfaces.
Spot test first: If you’re unsure, do a small patch test in an inconspicuous area. Apply the cleaner and wait 24 hours to check for any discoloration or damage before using it on a larger area.
Look for dedicated stone cleaners: There are specialized products designed specifically for natural stone that are formulated to clean without causing damage. Using these can offer peace of mind when cleaning stone surfaces in your shower.
3. Tackle Stubborn Mold and Mildew with Hydrogen Peroxide
For persistent mold and mildew stains, hydrogen peroxide can be a powerful cleaning agent:
- Create a mixture of 1 part hydrogen peroxide to 2 parts baking soda.
- Apply the mixture to the grout and let it sit for 10 minutes.
- Scrub the area with a brush to remove any remaining stains.
- Rinse with warm water.
Tip: Hydrogen peroxide is a natural disinfectant, so it also helps kill mold spores and bacteria. Always test a small, inconspicuous area before applying it to the entire grout line. Additionally, avoid mixing hydrogen peroxide with other chemicals, like bleach or ammonia, as this can produce dangerous fumes. When cleaning, ensure the room is well-ventilated, and wear gloves to protect your skin from irritation.
4. Use Dish Soap for Soap Scum Buildup
Soap scum can dull the appearance of grout, especially in areas where soap and hard water accumulate:
- Mix 1 teaspoon of dish soap with 1 cup of water.
- Apply this mixture to the grout using a spray bottle or cloth.
- Scrub gently to remove soap scum buildup.
5. Prevent Future Grime with Grout Sealer
Once your grout is clean, applying a grout sealer can help protect it from future staining and moisture:
- Ensure the grout is completely dry (wait at least 24 hours after cleaning).
- Use a grout sealer to create a protective barrier against moisture and stains.
- Reapply the sealer every 6-12 months to maintain its effectiveness.
Tip: If you live in a humid area, consider using a mildew-resistant grout sealer to further protect your shower.
Additional Tips for Maintaining Clean Grout
- Ventilate your bathroom: Mold thrives in damp environments, so ensure proper ventilation by using a fan or opening windows after showers.
- Wipe down tiles and grout: After every shower, use a squeegee or towel to dry the shower walls. This reduces water buildup and the risk of mold growth.
- Clean regularly: Don’t wait for grout to become heavily stained. A quick wipe with a mild cleaner or dish soap every week can help prevent major buildup.
- Use a daily shower spray: Consider using a no-scrub daily shower cleaner to keep your grout looking fresh with minimal effort.
When to Call a Professional
If your grout is extremely discolored, cracked, or damaged, it may be time to call in a professional. Sometimes, cleaning can’t fix deeply embedded stains, and the grout may need to be replaced or re-grouted entirely.
Final Thoughts
Keeping your shower grout clean doesn’t have to be a daunting task. By using simple, affordable materials like baking soda, vinegar, and hydrogen peroxide, you can tackle grime, mold, and soap scum effectively. Regular cleaning, drying, and sealing will help extend the life of your grout, ensuring that your shower stays clean and hygienic.
By following these tips, you’ll not only improve the appearance of your shower but also prevent mold and mildew from compromising the health of your home.