
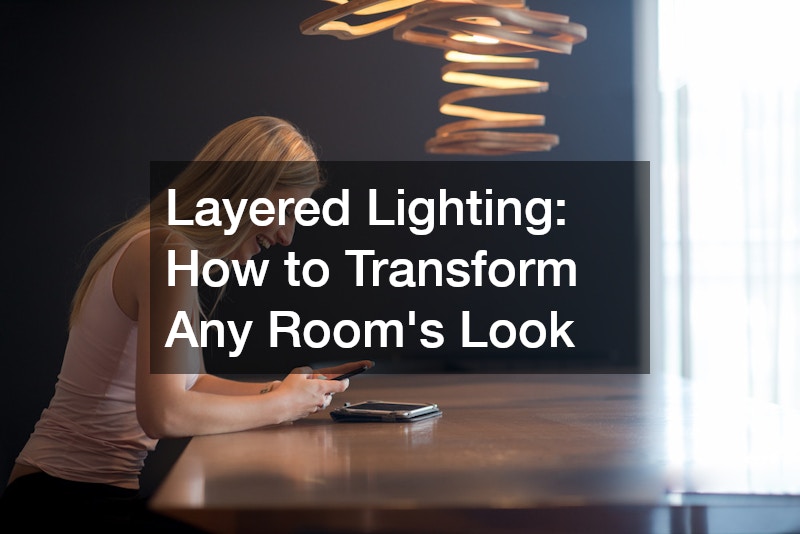
Flip on the overhead light in most rooms and you get one flat, harsh result that flattens furniture, casts odd shadows, and makes even a beautifully decorated space feel like an office. Layered lighting fixes this by combining several light sources at different heights and brightness levels to create depth, mood, and function all at once. The good news is that you do not need to rewire your whole house to get started. With a few strategic changes, any room can go from flat and forgettable to warm, dimensional, and camera-ready.
Understand the Three Layers Every Room Needs
Layered lighting is built on three categories working together: ambient, task, and accent. Ambient light is your general, overall illumination, usually from ceiling fixtures or recessed cans. Task light is focused and functional, aimed at spots where you read, cook, or work. Accent light is the finishing touch, drawing attention to artwork, architecture, or texture.
Most rooms that feel “off” are missing one or two of these layers entirely, not just poorly lit in general. A living room with only a single ceiling fixture, for example, has ambient light but no task or accent layer, which is why it can feel sterile despite being bright enough. Identifying which layers are missing is the first diagnostic step before buying a single fixture.
- Ambient: ceiling fixtures, recessed lighting, chandeliers
- Task: reading lamps, under-cabinet lights, desk lamps
- Accent: wall sconces, picture lights, LED strips
- A well-layered room typically uses all three at once, dimmed independently

Start With an Honest Lighting Audit of Each Room
Before buying anything, walk through your home room by room and note where light currently comes from and where it is missing. Do this in the evening, when your fixtures actually have to do their job without daylight filling in the gaps.
Turn on only the existing fixtures, one room at a time, and pay attention to shadows, glare, and dark corners that never get addressed. Stand where you actually sit, read, or work in that room rather than in the doorway, since a lamp that lights the middle of the floor does nothing for the armchair in the corner. Notice if the light source is overhead only, since that single-layer setup is what causes flat, shadowed faces and harsh pools of brightness with dead zones around them.
Grab your phone and jot quick notes room by room: which walls stay dim, where you squint from glare, and which tasks—cooking, reading, applying makeup—don’t have dedicated light. This audit takes less than twenty minutes per room but reveals exactly what layer is missing, whether that’s ambient, task, or accent lighting.
Keep an eye out for mismatched bulb temperatures too, since a warm 2700K lamp next to a cool 5000K overhead can make a room feel disjointed even when brightness levels are fine. Small details like this are easy to miss during the day but become obvious once you’re deliberately auditing after dark.
Before you buy a single bulb, walk through each room at three different times of day—morning, late afternoon, and after dark—and take notes on where shadows fall, which corners stay dim, and which tasks feel harder than they should. A kitchen counter that looks bright at noon might turn into a squinting hazard once the sun sets, and a reading chair positioned under a single overhead fixture often leaves the actual page in shadow. Write down every activity that happens in the space, from chopping vegetables to applying makeup, and note whether the current lighting actually supports it.
If you are already planning renovations, this is also the moment to loop in a professional who thinks about light as part of the whole space. An interior designer will often catch lighting gaps that homeowners miss, because they are trained to evaluate a room holistically—considering ceiling height, wall color, furniture placement, and natural light patterns together rather than fixture by fixture.
Bringing that perspective in early can save you from buying lamps and fixtures that end up mismatched to the room’s actual needs. It also helps you avoid costly rework, like discovering after installation that a recessed light is aimed at the wrong angle or that a dimmer switch was never installed for a fixture that clearly needed one. Even a single consultation, before you finalize floor plans or order fixtures, can reshape your whole approach to a room and prevent decisions you would otherwise have to undo later.
- Note which corners stay dark even with lights on—these “black holes” usually need a floor or table lamp, not just brighter bulbs
- Check for glare on screens, mirrors, or glossy surfaces by sitting in your usual spot and looking for hotspots or reflections
- Identify tasks performed in each room that need dedicated light, like chopping vegetables, reading, or applying makeup
- Test existing bulbs’ brightness and color temperature—cool white (4000K+) in a room meant to feel cozy often feels harsh
- Walk the room at three different times of day to see how natural light shifts and where gaps appear after sunset
- Photograph the room at night to see it as guests would, since phone cameras reveal shadows and flat spots the eye glosses over
- List every current light source and its purpose, so you can spot rooms relying on a single overhead fixture doing all the work
Choose Fixtures That Match Your Room’s Architecture
Not every room needs the same style of fixture, and choosing based on trend alone often backfires once the fixture is installed. Ceiling height, window placement, and existing trim details all influence what will look intentional versus tacked on. A room with low ceilings, for instance, generally needs flush mounts or recessed cans rather than dramatic pendants that eat up vertical space.
If you are working with an older home or one with unusual angles, it can help to consult an architectural firm before finalizing fixture placement, especially when adding new wiring or altering ceiling structure. They can advise on load-bearing considerations and how new lighting circuits interact with existing electrical panels. This step matters most when you are combining lighting changes with larger structural work, rather than simply swapping out a bulb or lamp.
- Flush mounts and recessed lights for low ceilings
- Statement pendants or chandeliers for rooms with height to spare
- Wall sconces to soften hallways and stairwells
- Track lighting for flexible accent needs in galleries or studios

Bring Task Lighting Into the Kitchen Thoughtfully
Kitchens demand more functional lighting than almost any other room, since food prep, reading recipes, and cleanup all require clear, shadow-free visibility. Under-cabinet lighting is one of the simplest upgrades, instantly eliminating the dark strip that forms over countertops when only ceiling lights are used. Pendant lights over an island add both task light and a strong visual anchor for the room.
If you are remodeling the kitchen more extensively, this is a smart time to discuss lighting placement with kitchen design companies who can integrate wiring into new cabinetry and island layouts from the start. Planning lighting alongside cabinet and counter decisions avoids the awkward retrofit of running new electrical after the fact. It also ensures switches and dimmers end up in convenient, reachable locations rather than wherever the wiring happened to allow.
- Under-cabinet LED strips for even counter illumination
- Island pendants sized to the counter length, not just centered
- Dimmable recessed cans for adjustable ambient light
- Toe-kick lighting for a soft nighttime glow
Layer Light Into Bathrooms Without Creating Shadows
Bathrooms often suffer from a single vanity strip light that creates harsh shadows under the eyes and chin, which is neither flattering nor practical for grooming tasks. Layering in this space means combining vertical sconces beside the mirror with an overhead ambient fixture and, where possible, a small accent light near a tub or shower niche. This combination softens shadows while still giving enough brightness for shaving, makeup, or skincare routines.
If you are in the middle of larger bathroom renovations, it is worth mapping out lighting circuits before tile and vanity installation begins, since moving electrical after tile work is costly and disruptive. Waterproof-rated fixtures are required near wet zones, and a licensed electrician can confirm which fixtures meet code for those areas. Getting this right the first time saves you from an awkward, underlit bathroom for years afterward.
- Vertical sconces flanking the mirror reduce facial shadows
- Overhead fixture rated for damp locations
- Dimmer switches for a relaxing evening routine
- Toe-kick or niche lighting as a subtle accent layer

Use Furniture Placement to Guide Your Lighting Plan
Lighting and furniture arrangement are more connected than most people realize, since a lamp only does its job if it sits where someone actually sits or works. Before shopping for lighting, finalize your furniture layout so you know exactly where reading lamps, floor lamps, or table lamps need to land. A sofa pulled away from the wall, for example, often needs a floor lamp positioned behind or beside it rather than relying on a distant ceiling fixture.
When furniture and lighting are being planned together, some homeowners choose to invest in custom furniture pieces sized specifically to fit alongside built-in lighting features like window seats with integrated reading lights. At this stage, it often makes sense to bring in custom lighting solutions rather than relying on off-the-shelf fixtures that only approximate the fit you need. This approach ensures the scale of the lamp, the height of the shade, and the placement of the piece all work in harmony. It is a more deliberate way to build a room than buying furniture and lighting separately and hoping they match.
- Place floor lamps where they cast light over a shoulder, not into eyes
- Table lamps should sit at roughly seated eye level
- Leave outlets accessible before finalizing furniture placement
- Consider lamp shade opacity for softer or brighter output
Bring Accent Lighting to Textiles and Soft Surfaces
Once ambient and task layers are in place, accent lighting is what makes a room feel finished, and textiles play a bigger role in this than people expect. A rug with rich texture or pattern looks noticeably different under warm accent light than under cool overhead light, so it is worth testing bulb temperature before committing to flooring choices. Many carpet stores now let customers view samples under different lighting temperatures in-store, which can prevent an unpleasant surprise once the rug is installed at home.
The same logic applies to upholstered furniture and drapery, both of which shift in tone depending on the light source nearby. A faded or dated sofa can look entirely different once paired with the right accent lamp, which is one reason some homeowners choose a reupholstery service instead of replacing furniture outright when updating a room’s lighting and color scheme. Testing fabric swatches under your planned lighting setup, rather than under store fluorescents, gives a far more accurate preview of the finished look.
- Warm bulbs (2700K to 3000K) flatter most textiles and skin tones
- Cool bulbs (4000K plus) suit task areas but can wash out color
- Test rug and fabric samples under your actual room lighting
- Accent lamps near textured surfaces highlight depth and weave
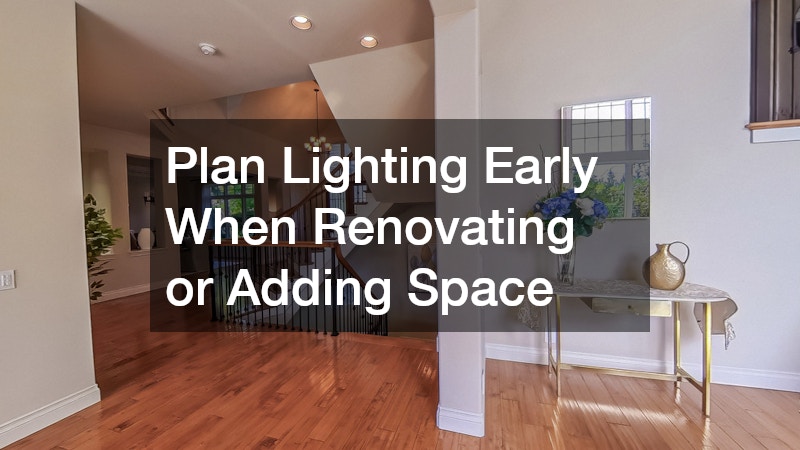
Plan Lighting Early When Renovating or Adding Space
Lighting is far easier and cheaper to plan before walls are finished than after, which is why timing matters so much during any renovation. If you are converting unused space, coordinating with attic remodeling services early means wiring for ambient, task, and accent light can be built into the framing stage rather than added later. Skylights, recessed cans, and accent wall washes are all far simpler to install before insulation and drywall go up.
The same principle applies to any larger renovation project, where general construction companies handling structural or electrical work should be briefed on your layered lighting goals from day one. Handing over a rough sketch of where you want ambient, task, and accent fixtures before the first wall goes up prevents costly change orders later. It also gives electricians the chance to run extra circuits for dimmers or smart switches while the walls are still open.
- Share your lighting layer plan before framing or drywall begins
- Ask about running separate circuits for dimmable zones
- Consider skylights or solar tubes for daytime ambient light in attics
- Request rough-in for future fixtures even if not installed immediately
Add Dimmers and Smart Controls to Every Layer
A layered lighting plan only works if each layer can be adjusted independently, which is where dimmers and smart controls earn their value. Ambient light might need to be bright during cleaning but soft during a dinner party, and only a dimmer switch or smart bulb makes that flexibility possible. Smart plugs on lamps allow task and accent lighting to be controlled from a phone or voice assistant without rewiring anything.
Retrofitting dimmers into existing circuits is usually straightforward and inexpensive, making it one of the highest-value upgrades you can make without any construction involved. Choose dimmers rated for the specific bulb type you are using, since LED dimming compatibility varies by manufacturer. Testing a single dimmer in one room before committing to a whole-house upgrade is a smart, low-risk way to confirm you like the control and feel before spending more.
- LED-compatible dimmers prevent flickering and buzzing
- Smart plugs add control to lamps without new wiring
- Voice or app control lets you set scenes for different activities
- Separate switches for each layer give the most flexibility
Layered lighting is not about buying more fixtures, it is about being intentional with the light you already have and filling the gaps thoughtfully. Start small with one room, run your honest lighting audit, and add ambient, task, and accent sources one at a time rather than trying to overhaul everything at once. As you gain confidence, you will start noticing the same missing layers in every room of your home, and fixing them becomes second nature. The transformation is often more noticeable than a full furniture overhaul, and it costs far less to get started.